Tutorial for a Gourd Rainstick, Part Three
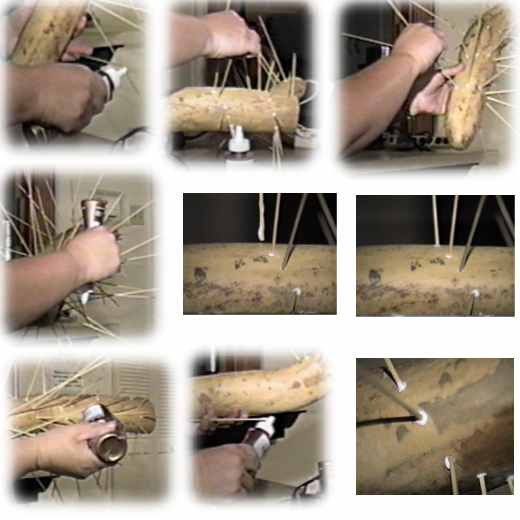
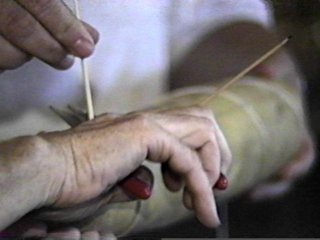
After the length of the string is drilled, take each skewer, glue the ends liberally and
insert them through the first hole until they seat off against the interior of the
opposite side.
|
|---|
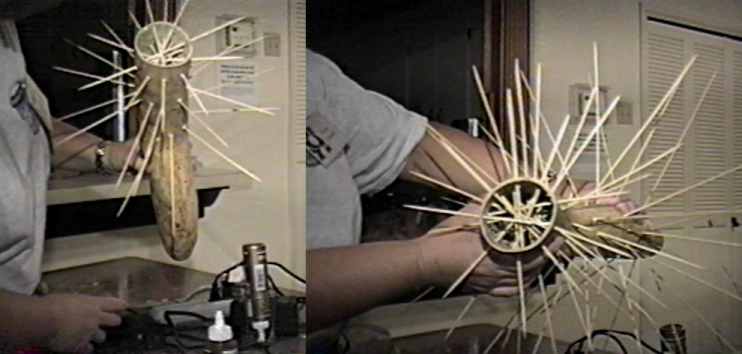
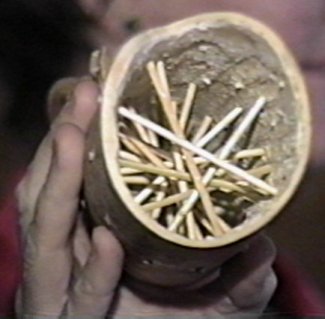
| Note: the more skewers and the more fill, the longer it will sound. But if you add too much of either, it will congest the instrument. Seek balance and what appeals to your ear and your hand when playing. |
|---|
Fill can be any hard, small, enduring object. Here's some suggestions -- pebbles, dry beans, rice, buttons, shells, pellets, beebees. Fill the larger gourd portion. Start with a little bit. I find that mixed fill sounds better than one kind of fill. Place hand over the hole and tip the gourd. Do you like the sound? Does the sound last long enough? Add or take away fill until you get the sound you like.
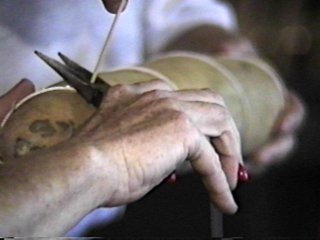
Now it's time to attach the top and the bottom. Glue the necks and press together. Have ready a strip of leather approximately two to three inches wide and long enough to wrap completely around the gourd's circumference. Glue the leather and wrap smoothly over the joint you just created. This overlay of leather will keep the gourd pieces together. Let dry overnight. (NOTE: YOU CAN USE A STRIP OF STIFF CLOTH INSTEAD OF LEATHER.)
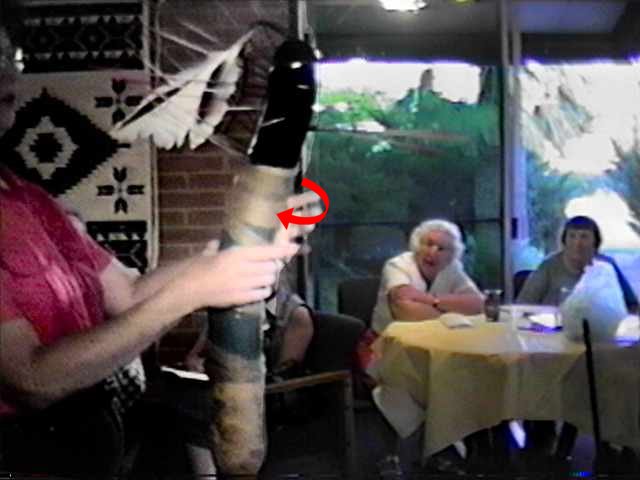
The picture below shows ostrich leather wrapped over the joint of a finished gourd
rainstick.
How do you want to decorate your rainstick? Add feathers? Shells? String binding? Paint? Play it a while. The right decoration will come to you.
Most rainsticks will lay on your shelf or be leaned up beside your piano between uses. But some rainsticks, like the one above with the skewer headress, will need a stand. Here's one idea. Dig a hole in a sandy area in your yard. Make the hole about 10 - 12 inches across and about three to four inches deep. The bottom must be FLAT. Fill the whole with a Plaster of Paris mixture. Test mixture to see how thick it is as it dries. When it more maliable, cover the base of the rainstick with plastic sheeting like Saran Wrap, then push into the drying Plaster. Press in sand, colorant as desired into plaster until you have the plaster the right color and texture for your display. Remove the rainstick. The hole should remain. When the plaster dries, dig out, flake off excess sand. This is your stand.
I HOPE YOUR RAINSTICK GIVES YOU MANY HOURS OF ENJOYMENT IN THE YEARS TO COME.
Thank you for visiting.
Would you like to go to
2001 Gourd Art Gallery by Kasin Hunter?
or
Art From My Heart
gourd art gallery
or
Kasin
Keep gourd art gallery?
Back to Nancy Hardesty's
rainstick tutorial page?