This will be the diameter of your newspaper cup.
HOW-TO MAKENEWSPAPER SPROUT CUPSBY KASIN HUNTER, B.S.mailto:kasin@kasinhunter.com |
|
Readers of my regular column in a magazine for and about gourds had some nice feedback in regards to the use of newspaper sprout cups. Since I mentioned them last month in my column, I happened across a tool offered by Seeds of Change that makes paper plant pots. It's similar to a large, hand-held, wooden dowel. You twist a length of newspaper around it, then pull the dowel back out. Thinking it through, I still like my old way better. Here's what you do. |
|
|
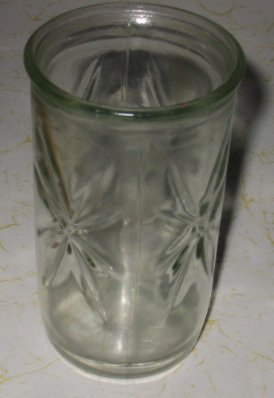
Take on old jelly jar, one that is approximately
1-1/2 inches to 2 inches in diameter. This will be the diameter of your newspaper cup. |
|
Scavenge for your daily paper and rip it
lengthwise from top to bottom. With the way that the pulp is laid
out in the daily newspaper, it should separate in two even sections with
a nice straight tear. Did someone say "No colored pics?" That may be a good idea. I heard one person say that it's okay to use the colored picture section in the newspaper as long as it isn't glossy. I've heard others say to not use the colored sections at all, glossy or matte. I say, "Better safe than sorry," and I never use the colored sections, glossy or no. I only use black and white printed pages for my newspaper cups. Soy ink is used in the black and white print which is bio-degradable and safe for my beloved sprouts. |
|
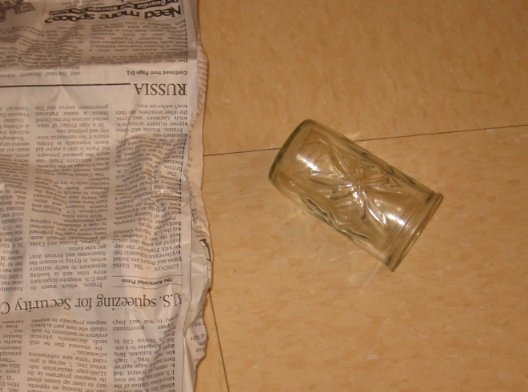
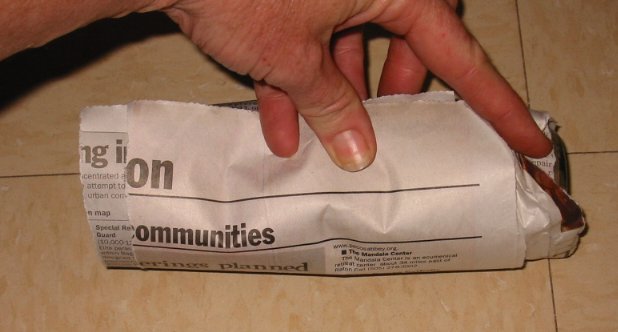
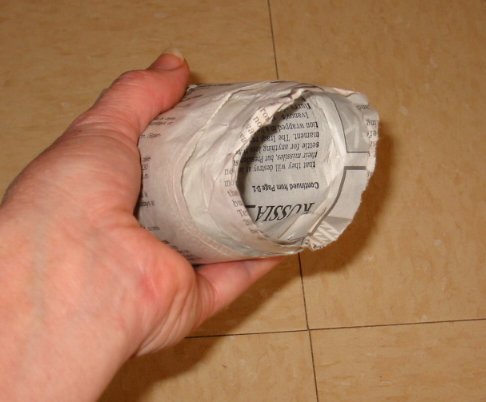
Take one length and
roll it around the juice cup with the cup opening inside. |
|
Roll around the cup. Not too firmly,
or you won't be able to get the cup out of the paper later on. |
|
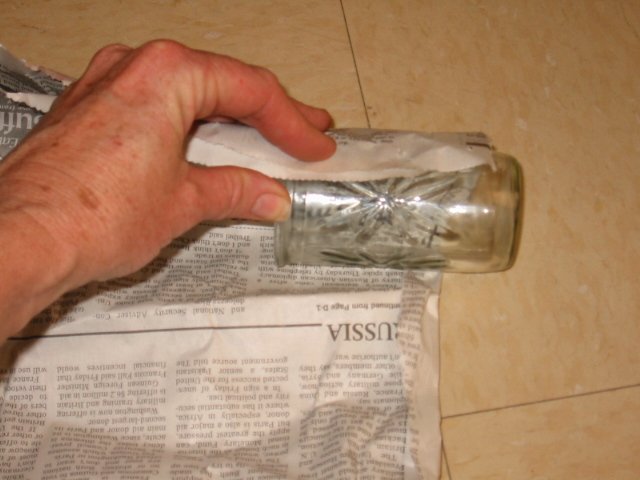
Continue rolling around the cup until there
is no paper left to roll. |
|
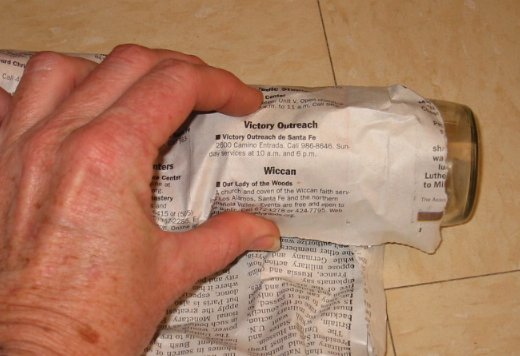
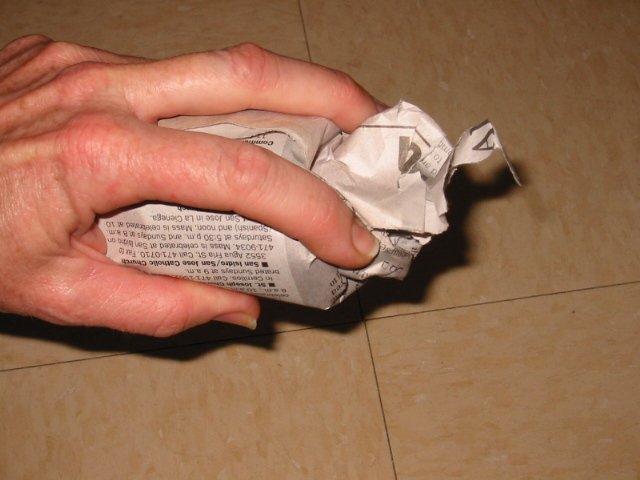
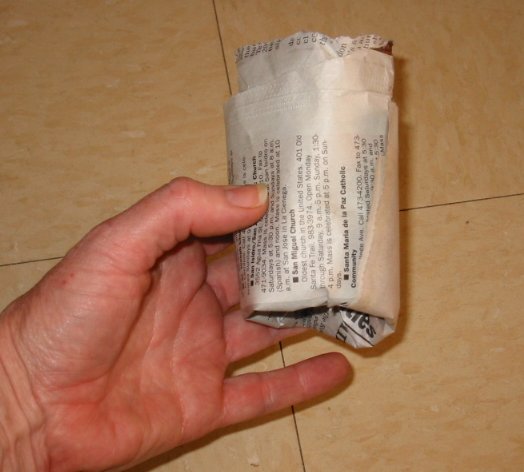
You then twist the leftover paper and tuck
it up inside the juice cup. |
|
Don't tuck the paper too far up inside. This
will be the bottom of your newspaper cup. |
|
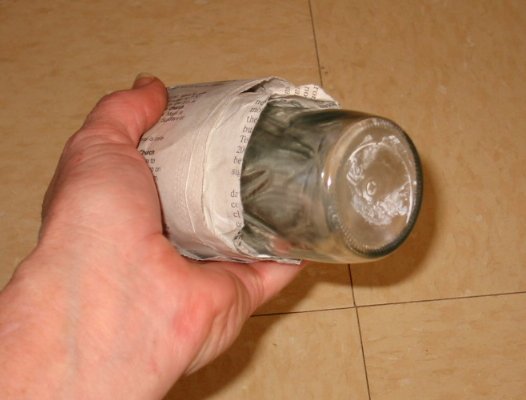
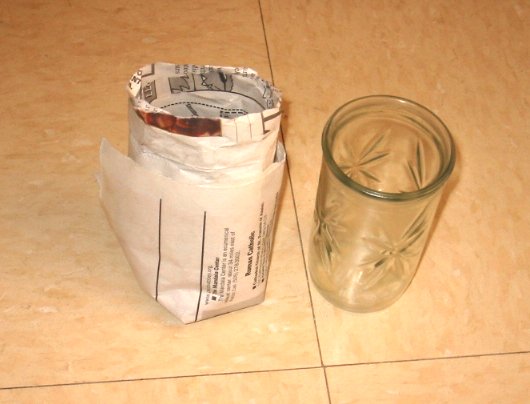
Now pull the juice cup out. |
|
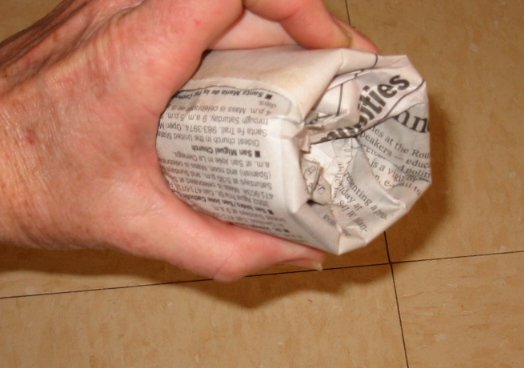
For this little bit of effort, you should have ended up with a nice, biodegradable,
paper, planting cup. |
|
|
|
|
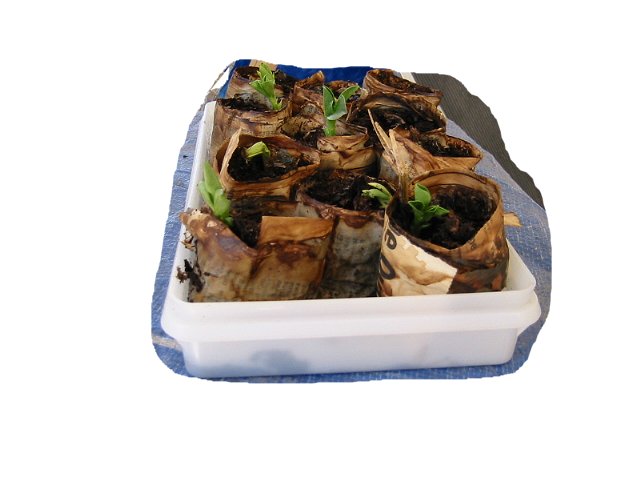
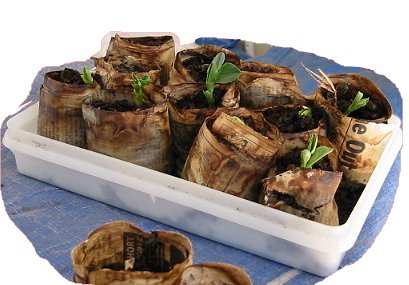
Place your newspaper planting cups in a spare tray and fill each with compost. Insert your seed soaked overnight, and water well. |
|
After your gourds or other sprouts have acquired
their secondary leaves, transfer to the prepared garden spot. Here, the
paper pot will readily decompose into the garden as the plant is watered
and grows.
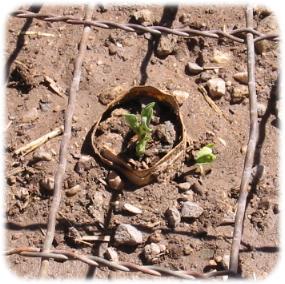
Jenny in Michigan emailed me today and said normally she plants her pots completely under ground level so none of the pot is sticking up above ground level as shown in the picture at left. I pictured the plant pot in the fashion shown at left so the viewer could note that the sprout, pot and all, is now planted in the ground.
However, note what Jenny's experience has been. She said, over time in her garden, the drying of the cup above ground continues down to the roots. Not good. I've never had that happen to my plants (usually, the piece of rim dries out and breaks off, adding to the compost in the garden with the roots remaining moist,) but Jenny's point is well taken. Even though the picture shows the newspaper pot slightly above ground level, you as a thoughtful gardener, may want to totally bury the whole pot so nothing shows but the sprout. Everyone's gardening needs are a little different. Couldn't hurt and may help. Thanks, Jenny, for sharing your own gardening experience for the benefit of all of us.
|
I hope this how-to on making newspaper sprout cups was helpful and fun. If you have any questions or comments, you may contact me, Kasin Hunter, here. Happy gardening! Back to Main Page. |